Knowledge Base
Categories: Mail
Setting Up Email on Outlook 2019
This article is your step-by-step guide on configuring your Email Account with us on Microsoft Outlook 2019.
Note: Before you set up your Outlook 2019 to receive your mail, make sure you have already created an email address in cPanel or Plesk.
SSL Settings
Please replace example.com with your actual domain name.
IMAP
Inbound Server - mail.example.com
Port: 993
POP
Inbound Server - mail.example.com
Port: 995
SMTP
Outbound Server - mail.example.com
Port: 465
Non-SSL Settings
Please replace example.com with your actual domain name.
IMAP
Inbound Server - mail.example.com
Port: 143
POP
Inbound Server - mail.example.com
Port: 110
SMTP
Outbound Server - mail.example.com
Port: 25 or 587
Configuring Outlook 2019
- Open Microsoft Outlook 2019.
- If you are setting up your email account for the first time, you'll directly see the window below.
- If you have configured other email accounts, you can tap on File Menu and select Add Account.
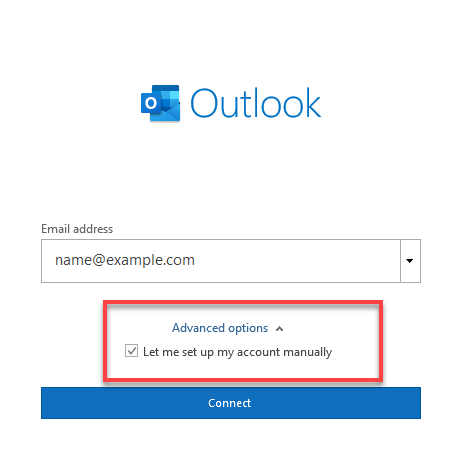
- Enter your Email Address, check the box for Let me set up my account manually, and tap connect.
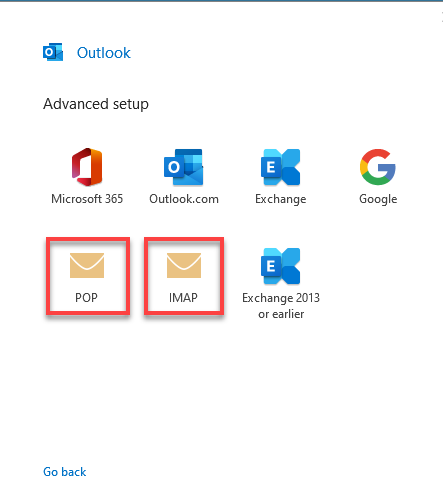
- Choose POP or IMAP depending upon the Incoming Protocol you prefer.
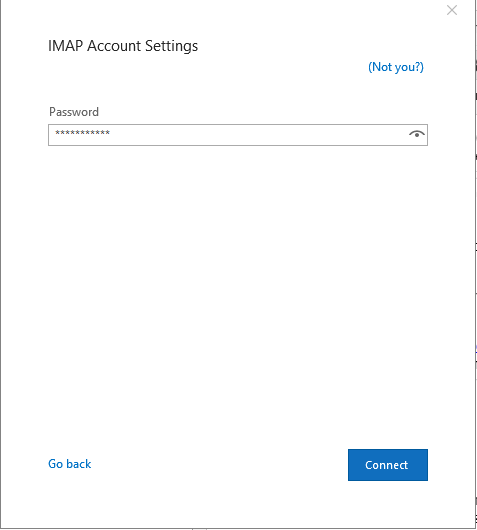
- Refer to the settings above and enter the respective hostnames, port numbers, and encryption methods for the Incoming Mail and Outgoing Mail servers.

- Type your email Password and click on Connect.
- Your email account has been configured.
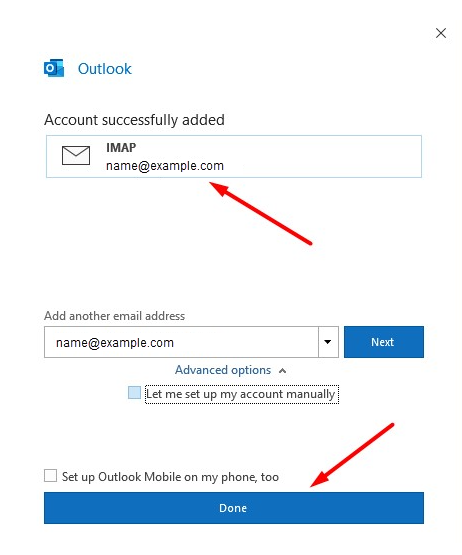
- Click Done.
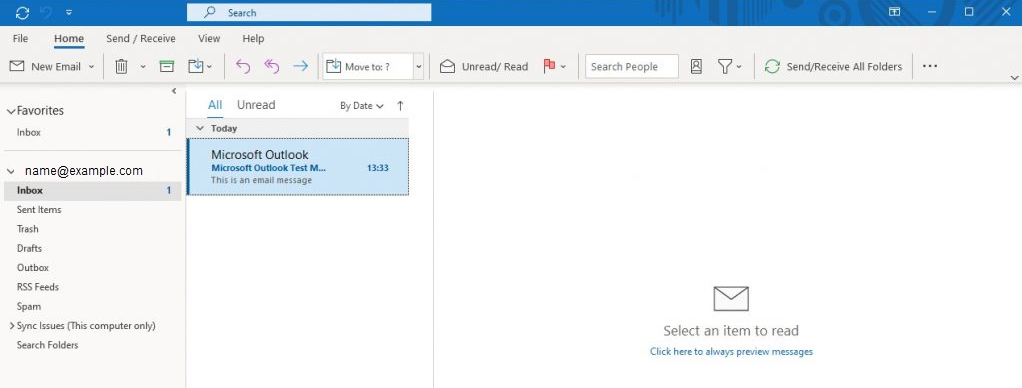
- You can now send and receive emails.
* Your feedback is too short