Knowledge Base
Categories: Mail
Setting Up Email on Android Devices
This article discusses the key information you need in setting up your email client so you can get your emails up and running in your mobile device.
Email Client Connection Settings
SSL Settings
Please replace example.com with your actual domain name.
IMAP
Inbound Server - mail.example.com
Port: 993
POP
Inbound Server - mail.example.com
Port: 995
SMTP
Outbound Server - mail.example.com
Port: 465
Non-SSL Settings
Please replace example.com with your actual domain name.
IMAP
Inbound Server - mail.example.com
Port: 143
POP
Inbound Server - mail.example.com
Port: 110
SMTP
Outbound Server - mail.example.com
Port: 25 or 587
Configure Email Client
To configure your email client:
Android
- On your mobile device, launch your preferred email client application. In this example, we will use Gmail.
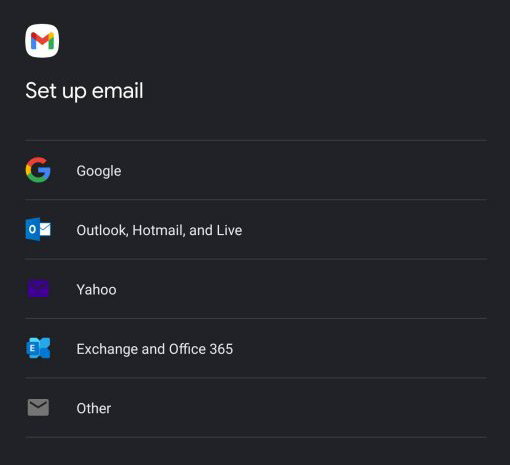
- Navigate to Settings, then select Add Account.
- Click Other.
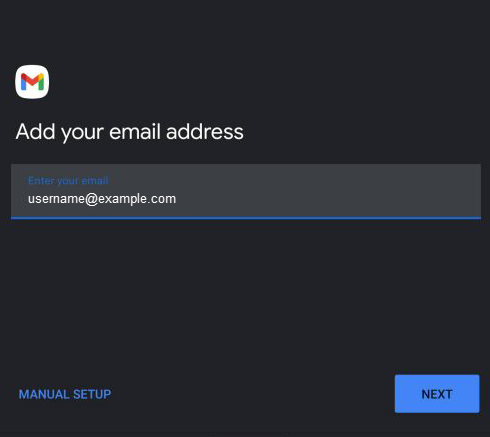
- Enter your email address, then click Next.
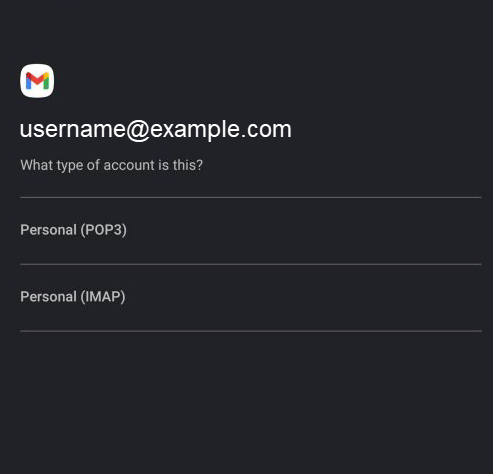
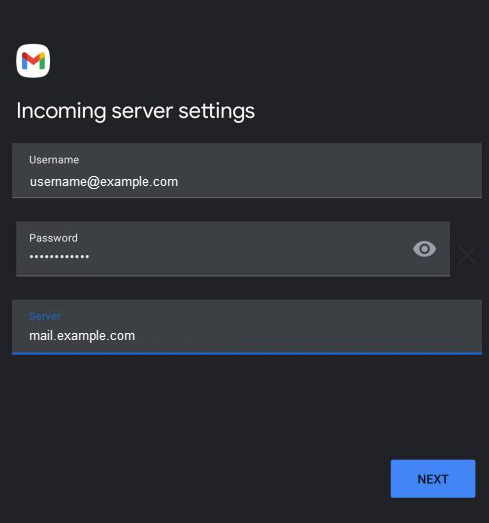
- Select preferred incoming protocol - IMAP or POP.
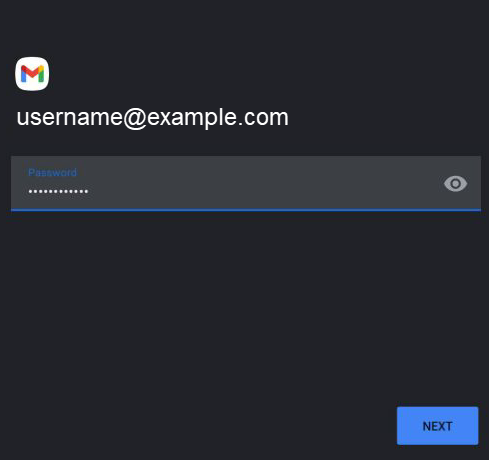
- Enter your password, then click Next.
- Using the settings above, enter the incoming server and port, then click Next.
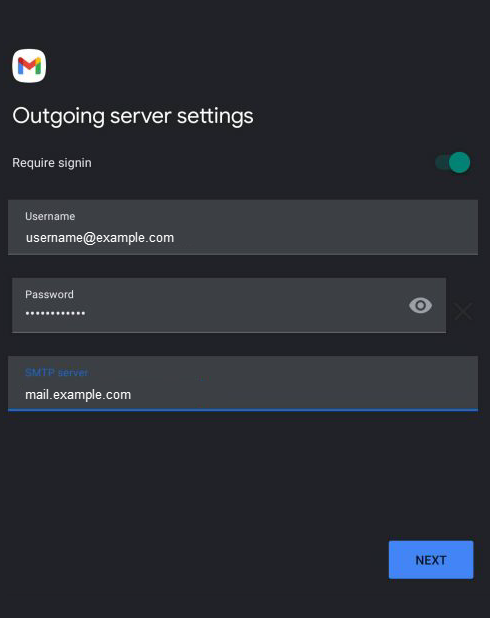
- Enter the outgoing server and port. Once done, click Next.
- Put a checkmark on your preferred settings below.
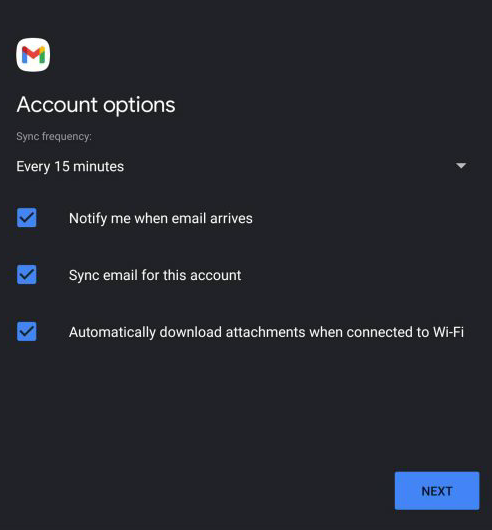
- Notify me when the email arrives
- Sync emails for this account
- Automatically download attachments when connected to WiFi.
- (Optional) Enter a preferred name to your account.

- Once done, click Next.
You now have successfully set up your emails on your device!
* Your feedback is too short